Home
Videos
A+
Arduino (2019)
ChatGPT / OpenAI
Cloud Computing (2019)
Cloud Computing (OLD)
Computer Repair
CSS and HTML 5 (2020)
Data Recovery
Hacking
HTML Intro (2020)
Interviews
Linux (2019)
Linux (Old)
Linux Tools (2020)
Linux Projects (2020)
MySQL – Introduction (2019)
Network
PHP Programming (2019)
PHP Programming (OLD)
PHP Projects
Python
Python API’s
Programming – Intro (2020)
Raspberry Pi (2020)
Reviews
Security
Servers
Voice / Telephone
Web Design
Web Publishing
Windows Server 2012
WordPress
Project Notes
Parts List
Notes
Notes – OpenAI
Notes – SQLite
Data Recovery
Data Recovery
Reset a Windows Password
Eli the Computer Guy
Business
Business of Data Recovery
Eli the Computer Guy
Data Recovery
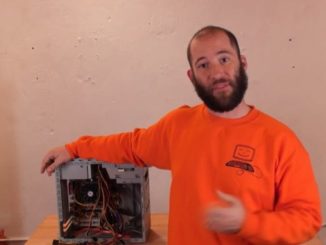
Dedicated Data Recovery Computer
Eli the Computer Guy
Data Recovery
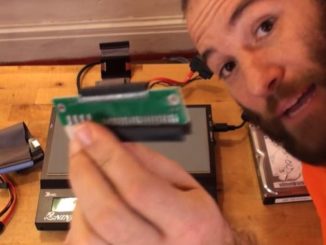
Data Recovery Devices
Eli the Computer Guy
Data Recovery
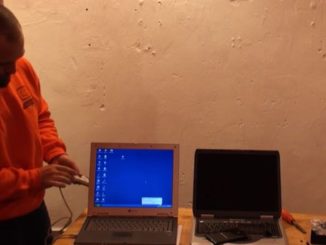
Hard Drive Enclosure for Data Recovery
Eli the Computer Guy
Data Recovery
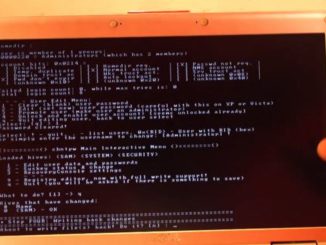
Recover Deleted Files
Eli the Computer Guy